
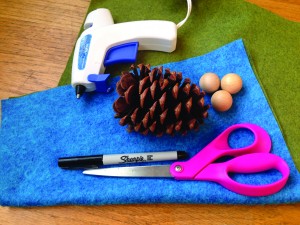
Last year, one of our favorite crafts was a pinecone elf ornament. It requires only a few supplies, is easy and quick to put together, and people love them!
WHAT YOU’LL NEED
- Medium to large sized pinecones
- 1” wooden craft balls (no holes)
- Felted wool or felt
- Glue (hot glue makes this a snap)
- Scissors
- Fine-tipped permanent marker
- Optional: needle and thread
PUT YOUR ELF TOGETHER
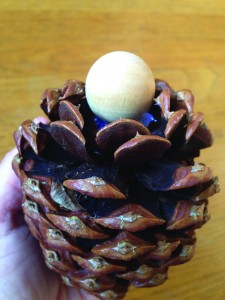
- Glue a wooden ball to the flat side of the pinecone; this ball is now the head of your elf.
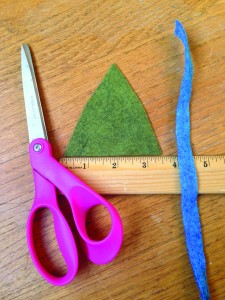
- Cut a ½ inch strip of felt for the scarf (optional) and a triangle offelt with 3.5 inch sides for the hat.
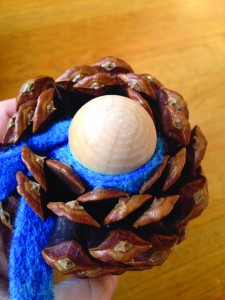
- Optional scarf: Tuck and tie the scarf down around the head; guide ends of the scarf between the pinecone scales. Cut the ends of the scarf to look like fringe.
- Stitch or glue two sides of the felt triangle to form the hat.
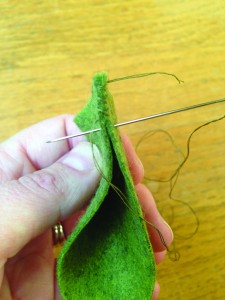
- Place a quarter-size of glue on the inside seam of the hat and tuck the hat down onto the head. Once your hat is secured in place, use a dot of glue to secure the front of the hat.
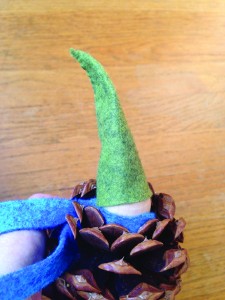
- Use the marker to draw a simple set of eyes and a nose. I personally don’t draw a mouth, but have at it!
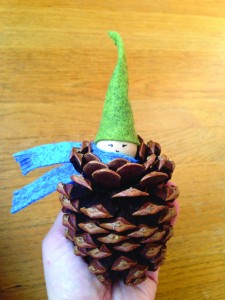
- Tie to packages as-is or add an optional old-school metal ornament hook to the tip of the hat.
- Marvel at your mad crafting skills.
You can customize this craft with the following enhancements:
- Sew a bell on the tip of the hat.
- Add rosy cheeks with watercolors.
- Use pipe cleaners to twist on arms and legs; you can make mittens and boots out of extra felt.
- Spray pine cones ahead of time with paint or glitter.
- Glue mini-pom pons between scales.
- Use cinnamon-scented pine cones.
- Make an entire wreath of pinecones and sweet elves


